
A cross between chewy cookies and tender cupcakes, these frosted red velvet cupcake cookies are the best of both worlds! The tender and airy cookie centers dome up like a cupcake top but still pack that classic chewy cookie texture. It's all topped off with a swirl of silky and rich cream cheese frosting and a few cookie crumbs.

what makes these frosted red velvet cookies so good?
- best of both worlds! These truly are the perfect combination of fudgy and chewy red velvet cookies and tall and moist red velvet cake!
- easy and quick to make
- beautiful deep red color
- rich and creamy frosting
the secrets to a cakey cookie
In the spirit of truly making this cookie a hybrid of a cupcake and a cookie, there are a few ingredients that help make it possible!
- baking powder + soda: classic cookies usually use one or the other (most often baking soda), but this cookie dough uses both to achieve a nice lift on top!
- oil: a common ingredient in cakes and cupcakes. Oil adds a hint of moisture to the cookie to give it that cakey quality
- milk powder: a bit of a strange ingredient! Milk powder adds the richness and flavor of milk without throwing off the moisture in the cookie dough. It makes it taste like a creamy slice of cake!

how to make frosted red velvet cupcake cookies
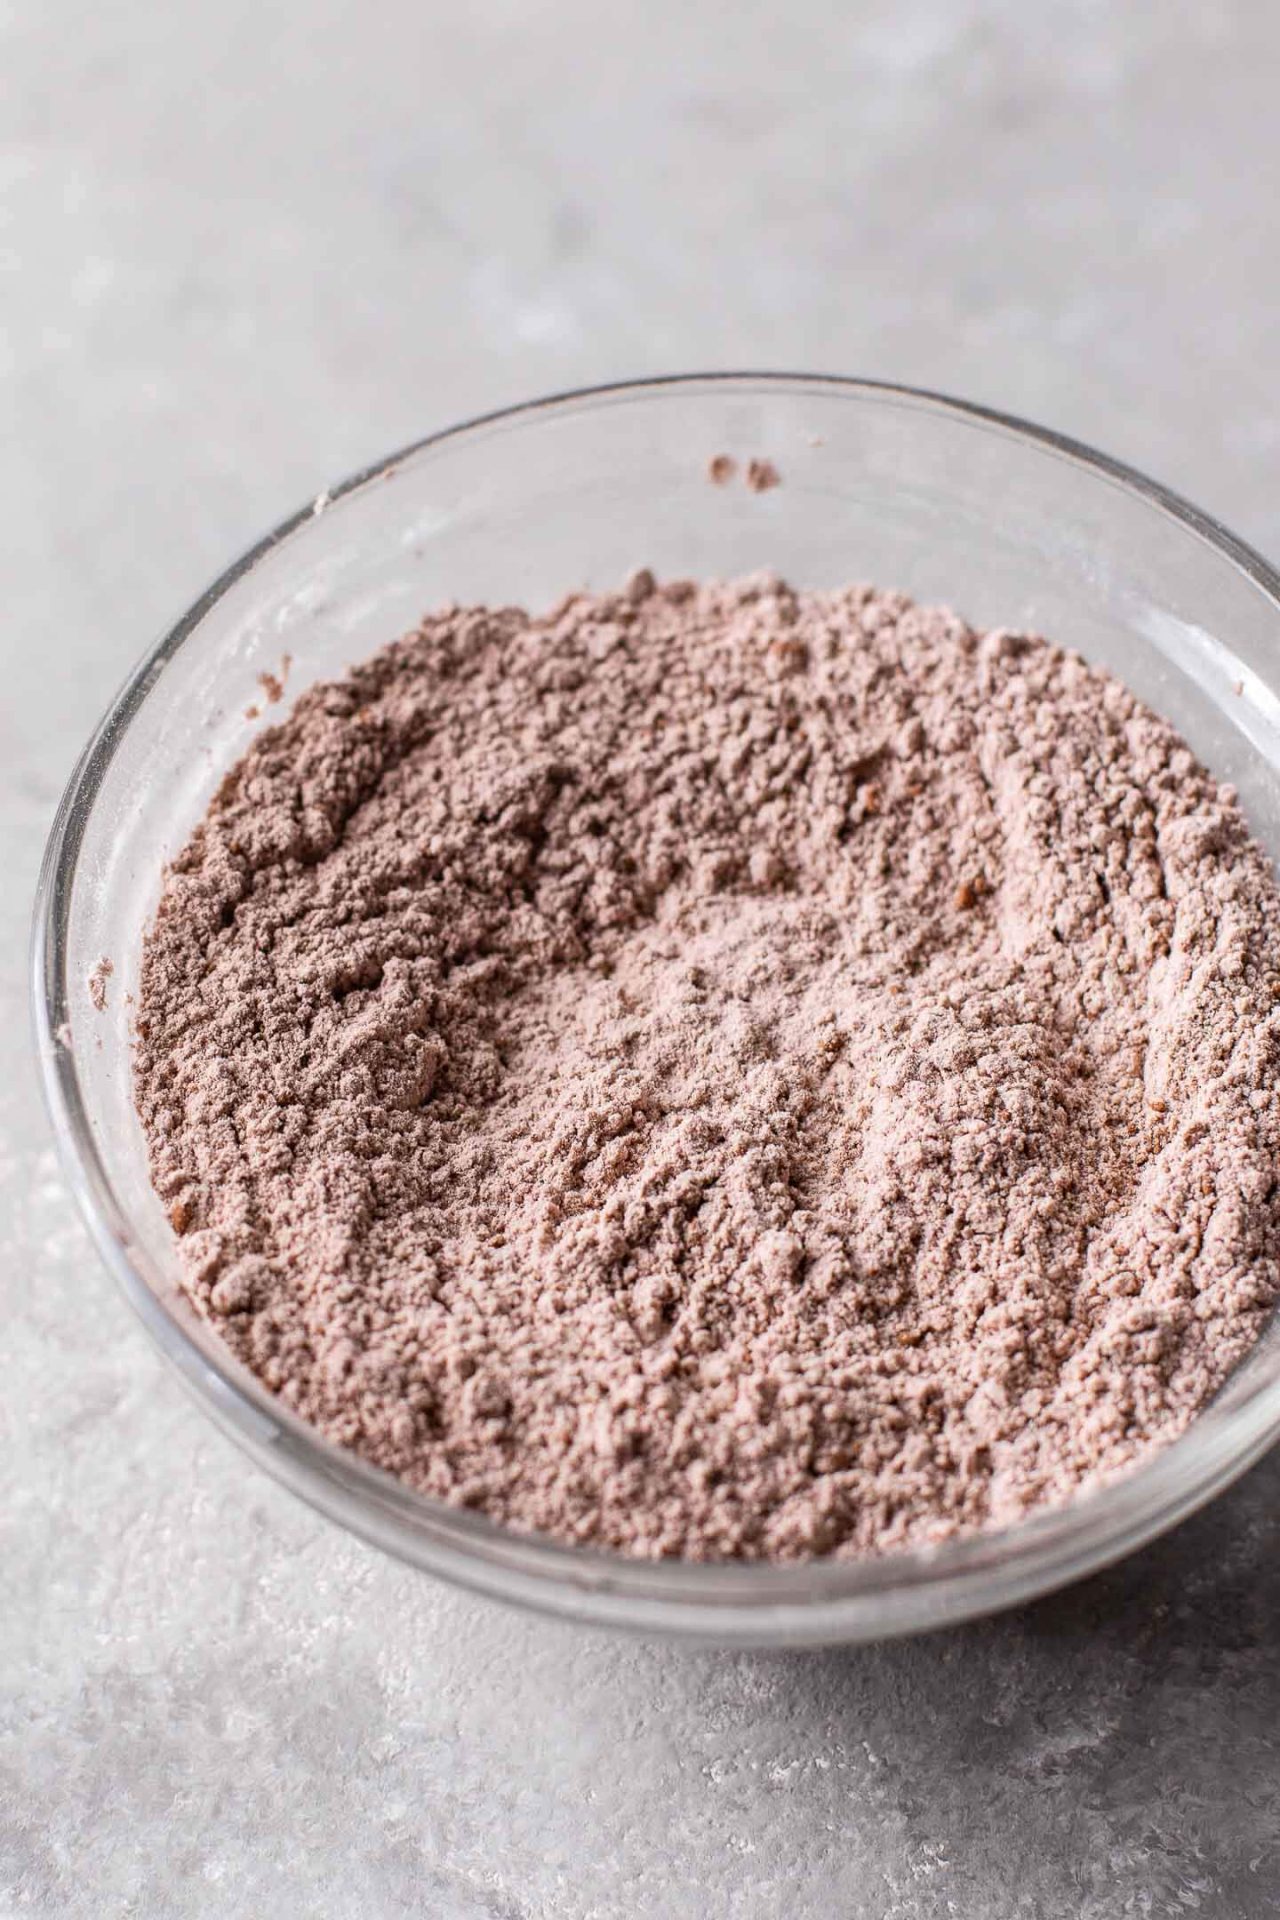
1. Whisk together dry ingredients. Set aside.
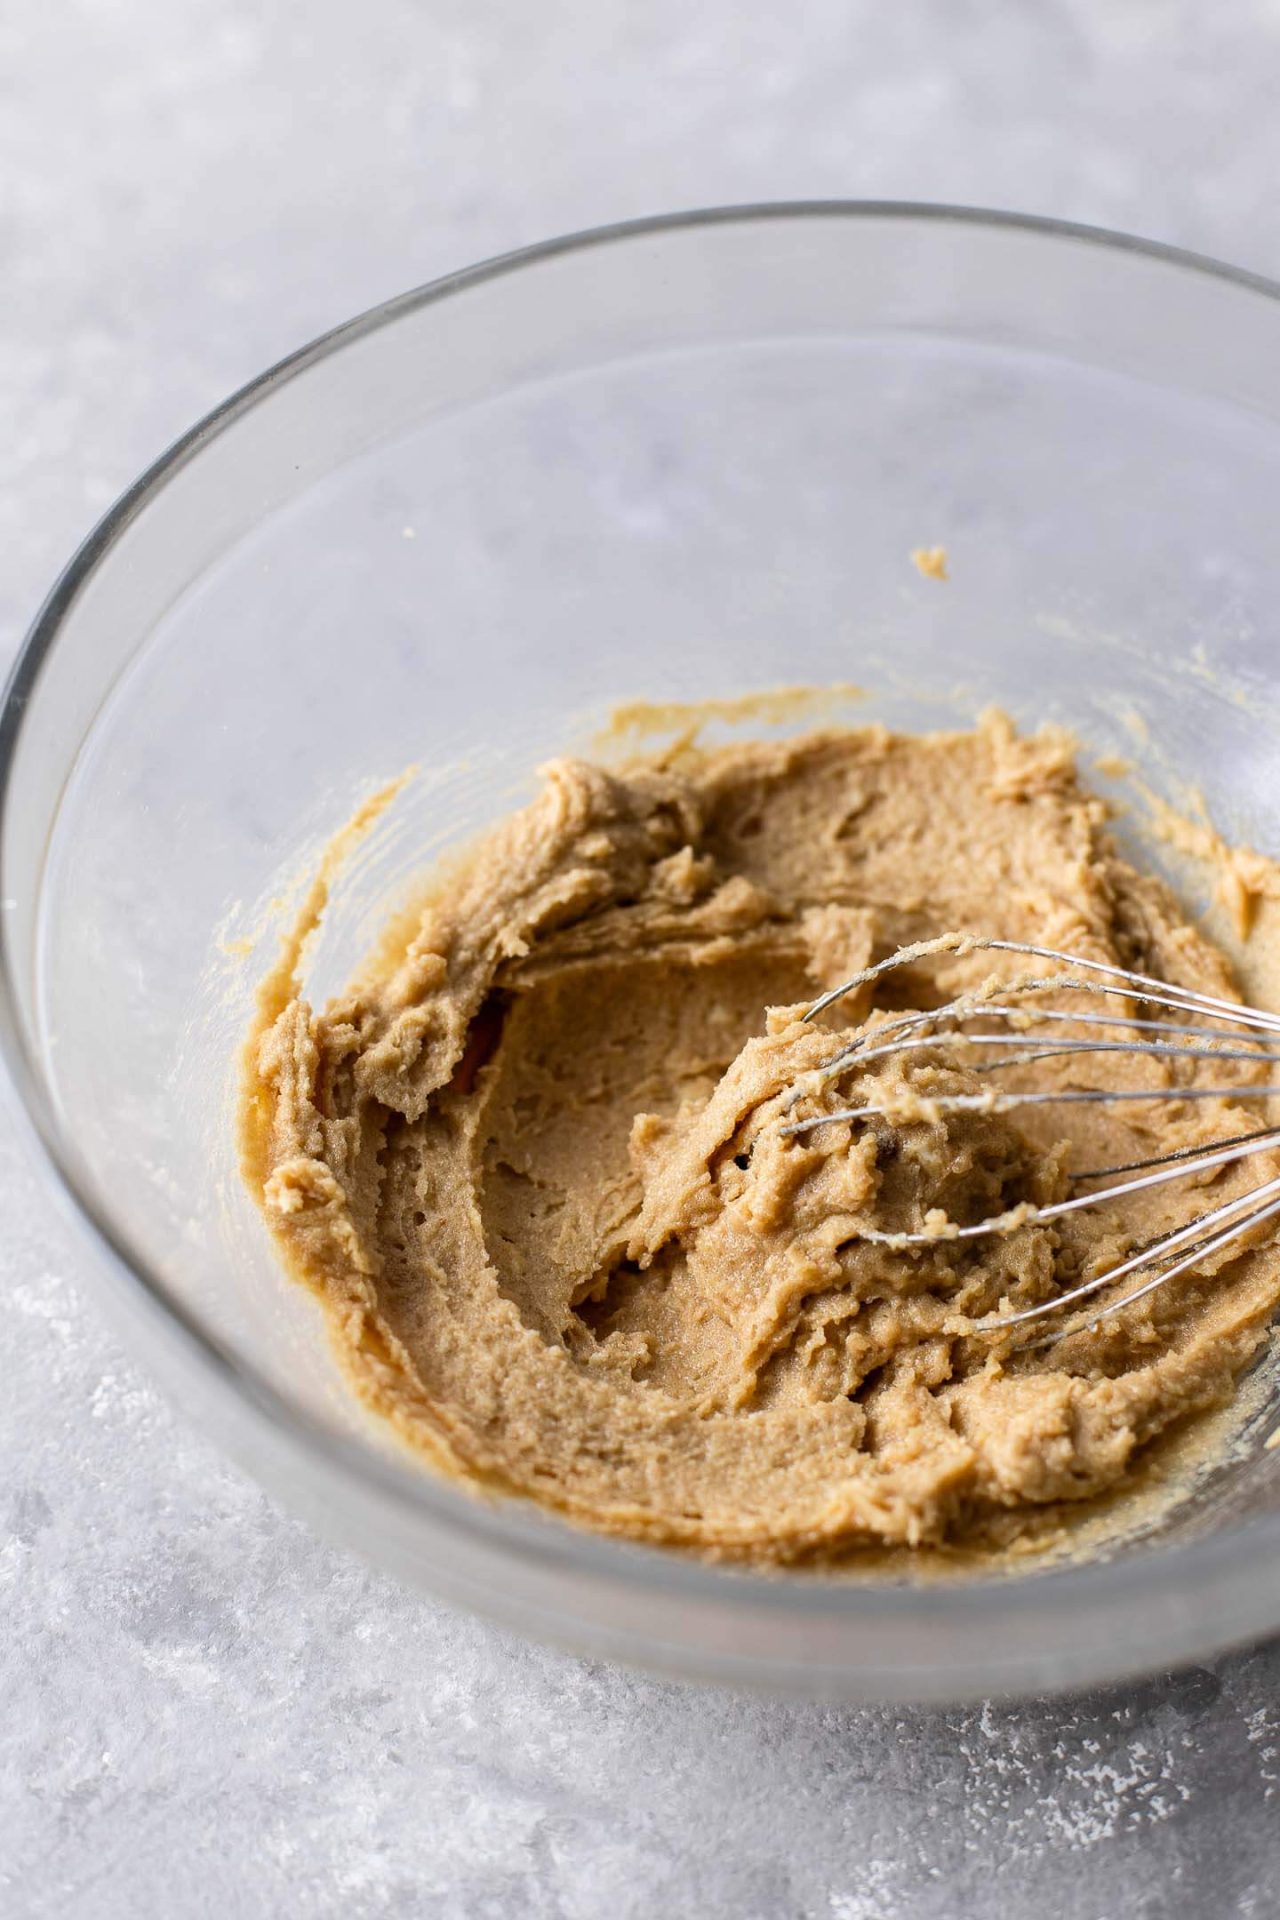
2. Cream together butter, oil, and sugars.
3. Add egg and vanilla and whisk to combine.
4. Whisk in food coloring and vinegar. The color will be VERY vibrant at this point, but it will deepen after the dry ingredients are mixed in. You can see how the color changes in the photos below before and after the flour mixture is added!
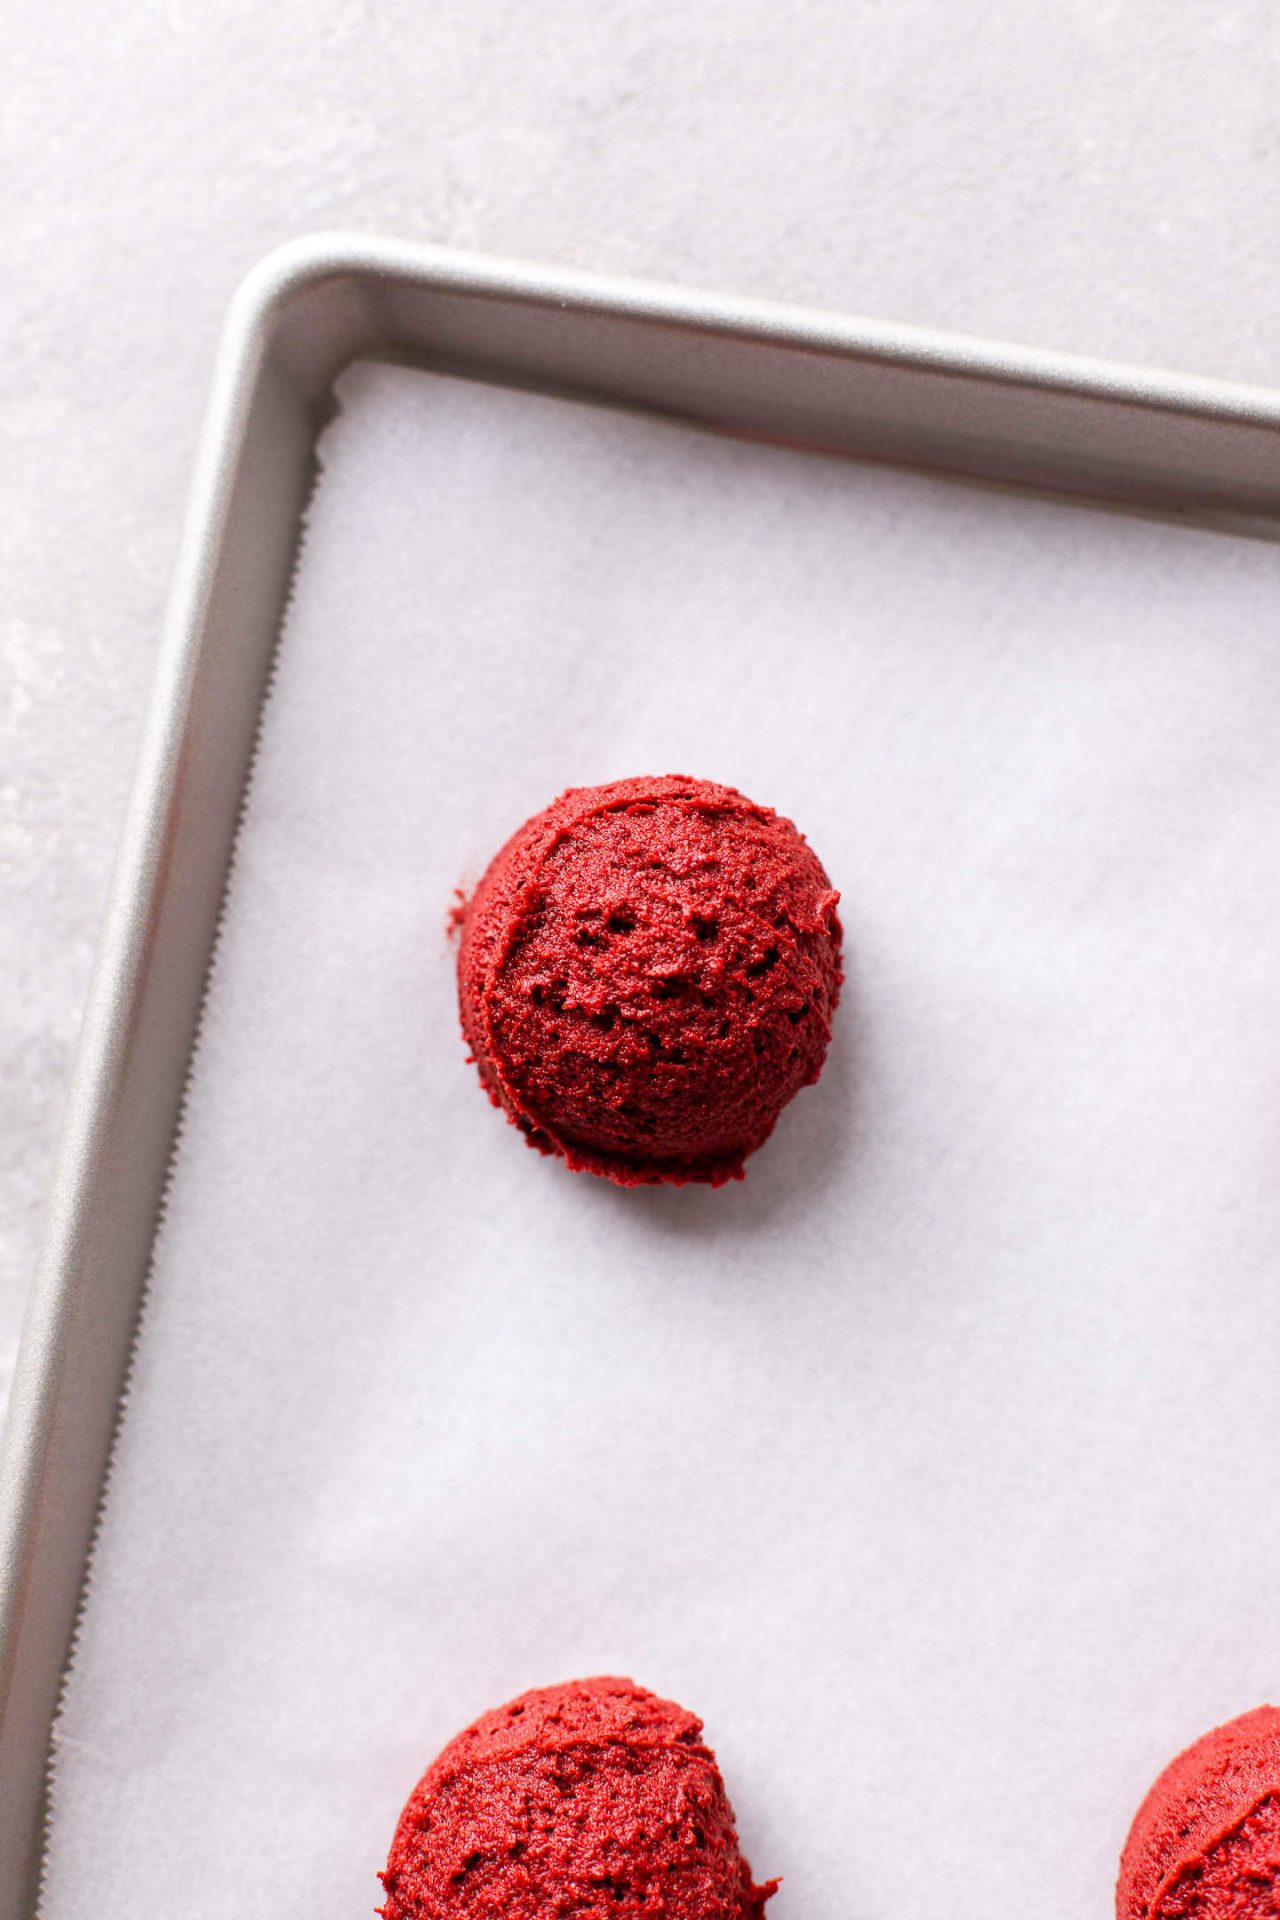
5. Fold in dry ingredients. The dough will be quite sticky - kind of like a mix between a cookie dough and cake batter! Because it's so sticky, you won't be able to work it with your hands at all. A cookie scoop works best for portioning out the dough, but 2 large spoons work in a pinch (although the cookies won't turn out quite as rounded).


6. Scoop the cookie dough and portion onto your baking sheet. Make sure to leave a good amount of space between each cookie because they will puff out quite a bit! You'll probably end up with a little extra cookie dough that doesn't quite make a full cookie at the end - that one is great for crumbling over the frosted cookies for added decoration! Or just a chef's treat.
7. Bake and cool. Cool the cookies for about 5 minutes on the baking sheet, then transfer to a wire rack. Cool completely to room temperature before frosting!

8. Cream together butter and cream cheese for frosting. You're just looking to get them combined and lump free.
9. Add remaining frosting ingredients and whisk together until smooth.
10. Pipe or spread frosting over cooled cookies. Break up some cookie crumbs and sprinkle on top.

Mimi's tips
- Flour. Make sure to measure flour by spoon and leveling or by weight! Do not scoop your measuring cup straight into the bag of flour - this can cause it to pack into the cup and give you too much weight worth of flour!
- Room temperature. Room temperature butter, egg, and cream cheese mix together much more easily and smoothly.
- Baking. Overbaking is a one way ticket to hockey puck cookies!
- Cooling. The residual heat of the pan can continue to cook and dry out your cookies, so it's important to cool them for no more than about 5 minutes on the pan - then transfer to a wire rack to cool completely.
- Frosting. Speaking of cooling completely... make sure the cookies are FULLY cooled before frosting, otherwise it'll be a runny mess!


storage
Since the frosting contains cream cheese, frosted cookies should be stored in the fridge, while unfrosted cookies can be kept at room temperature. Store in an airtight container to seal in freshness!
Frosted cookies will keep for up to 4 days in the fridge while unfrosted cookies will keep for around 4 days at room temperature or 1 week in the fridge. The frosting will reduce the amount of time that the cookies will last - so if you want to make them ahead, it's best to avoid making the frosting until around the time you want to serve them.
check out these other recipes!
• Chocolate Chip Red Velvet Cake
• Red Velvet Brownies
• Red Velvet Cupcakes
• Red Velvet Whoopie Pies
Lastly, if you made this or any of my recipes, be sure to leave a comment and review below! I love hearing your thoughts! Also tag me on Instagram @eatsdelightfulblog so I can see what you're making.
Print
Frosted Red Velvet Cupcake Cookies Recipe
- Total Time: 50 minutes
- Yield: 9 cookies (approx.)
Description
A cross between chewy cookies and tender cupcakes, these frosted red velvet cupcake cookies are the best of both worlds! The tender and airy cookie centers dome up like a cupcake top but still pack that classic chewy cookie texture. It's all topped off with a swirl of silky and rich cream cheese frosting and a few cookie crumbs.
Ingredients
For the red velvet cookies:
- 1 & ½ cups (180g) all-purpose flour, spoon and leveled
- ¼ cup (20g) unsweetened cocoa powder
- 1 tablespoon instant milk powder
- 1 tablespoon cornstarch
- ½ teaspoon baking powder
- ¼ teaspoon baking soda
- ¼ teaspoon salt
- ½ cup (1 stick / 115g) unsalted butter, softened to room temperature
- 3 tablespoons vegetable oil, or any neutral flavored oil
- ½ cup (100g) packed brown sugar, light or dark
- ½ cup (100g) granulated sugar
- 1 large egg, at room temperature
- 1 teaspoon pure vanilla extract
- 1 teaspoon white vinegar
- 1 to 2 teaspoons red liquid-gel food coloring *see notes
For the cream cheese frosting:
- 3 ounces (85g) block cream cheese
- 6 tablespoons (90g) unsalted butter, softened to room temperature
- 1 teaspoon pure vanilla extract
- 1 & ½ cups (195g) powdered sugar
Instructions
- Preheat your oven to 350°F. Line 2 large baking sheets with parchment paper and set aside.
- In a medium sized bowl, whisk together flour, cocoa, milk powder, cornstarch, baking powder, baking soda, and salt to combine. Set aside.
- In a large bowl, combine butter, oil, and brown and granulated sugars. Whisk together until smooth.
- Whisk in the egg and vanilla to combine. Add in vinegar and as much food coloring as you need to reach your desired color and mix to combine. The color is going to be VERY bright at this point and will deepen after you add the dry ingredients. You can see a photo in the post above what my cookie dough looked like with the food coloring added before and after mixing in the dry ingredients.
- Add the dry ingredients and fold together until you get a thick cookie dough. It will be quite sticky! Use a large (3 to 4 tablespoon) sized cookie scoop to scoop out large portions of dough onto your parchment lined baking sheets, leaving about 3 inches of space between each cookie on the sheet.
- Bake the cookies in the center of your preheated 350°F oven for 12 to 15 minutes or until puffed and spread out. The bottom edges should be a very light golden brown as well!
- Cool the cookies for about 5 minutes on the baking sheet. Transfer onto a wire rack and set aside to cool completely to room temperature before frosting.
- Make the frosting: In a medium bowl, cream together cream cheese and butter until lump free and smooth.
- Add vanilla and powdered sugar and mix until smooth. If the frosting is too soft, pop it into the fridge for 30 to 60 minutes, or until firmed up to your desired consistency.
- Pipe or spread your frosting onto the cooled cookies. If you have a wonky looking cookie (usually from the last bit of cookie dough) crumble it up and sprinkle on top of the frosted cookies for added decoration!


Notes
* If you don't have liquid-gel food coloring, plain gel food coloring works great as well! You will probably end up needing less though, so add as much as you need to reach your desired color. Try to avoid using liquid food coloring as it can seriously throw off the moisture content in the cookie dough. Powdered food coloring also works (although it's more difficult to find). Powdered food coloring is also more concentrated so add as much as you need to reach your desired color.
- Prep Time: 20 minutes
- Bake Time: 12 minutes
- Category: Cookies
Enjoy!


Natasha says
After scooping them I frozed them for about an hour and baked for 10mnts. They are perfect 👌 thank you
Andrea says
Hi! My cookies didn’t spread out like yours. What went wrong? I followed all the steps 🙁
shaiya bratch says
can i subsitute the milk powder for normal milk?
Bonnie says
Just to clarify, Can the cookies be frozen with the frosting on top?
Mimi says
Cream cheese frosting is a bit hit or miss when thawing! Sometimes it thaws well, other times the taste and texture can feel a bit off. I would personally recommend just freezing the plain cookies and frosting them when it's closer to serving time! ❤️
Dawn says
Can I bake ahead and freeze for christmas
Mimi says
Hey Dawn! Yes, you can! To freeze, let them cool completely to room temperature then transfer to a freezer bag in a single layer. If you need to stack them, separate layers of cookies with a piece of wax paper. Push out as much air as you can and seal the bag. They'll keep for about 2-3 months in the freezer. When it's time to thaw, it's best to take the frozen cookies out of the bag so they don't collect moisture and get soggy. ❤️🎄
Daniel says
I didn’t have a scoop or a way to pipe the icing but these are easily the best cookies I’ve ever made. Incredible recipe, thanks for sharing!
Mimi says
Thank you so much!!! I'm so happy you liked them! 🙂